How to Install a Dimmer Switch

While dimmer switches seem like simple home features, they’re surprisingly tricky to get just right. A dimmer switch allows you to soften the lighting in the dining room or bedroom, making them worth the effort to install. Many homeowners attempt a dimmer switch installation as an introduction to home electrical wiring. Unfortunately, due to mismatched equipment, specific wattage requirements, and wiring variations, it can be frustrating. Don’t let this home project overwhelm you — pick the right dimmer switch for your light fixtures and bulbs from the start and the rest of the steps will flow smoothly.
Compatibility for Dimmer Switches: Type of Bulb and Lamp

First, you’ll need to figure out what kind of bulbs you’re controlling with the dimmer switch. To learn more about the different types of lightbulbs click here. If you use incandescent or halogen bulbs, you’re set with any dimming switch that can handle the right wattage. We’ll cover that in the next section. If you want to dim LED or CFL bulbs, or permanent fixtures with these types of lights, you’ll need special dimming switches that match.
Unfortunately, it’s not as easy as matching an LED dimmer to the same bulbs or something similar for CFL lights. The exact dimmer model must match both the light fixture and specific bulbs used together. Manufacturers of both light fixtures and dimmer switches publish extensive lists of compatible models so you can mix and match just the right features. If you’re struggling with this step, consider purchasing dimmer switches and lamps from the same manufacturer to ensure the highest amount of compatibility, after checking against a published list, of course.
Total Wattage of Controlled Lights

No matter the type of light bulbs and fixtures you’re trying to control with a dimmer switch, you’ll need to add up the total wattage of all the lights. Base this on the true wattage of the bulb, not its equivalent. For example, many 6-watt LED bulbs are sold as 40-watt equivalents due to their light output in lumens. Use the 6-watt number rather than any other advertised number to get accurate figures.
Most people want to install a dimmer switch to control an entire room’s worth of light fixtures, or at least a set of track lights or similar combinations. When using bright incandescent bulbs, a combination can total over 800 watts controlled by the same switch. Don’t just pick a switch based on the total wattage — multiply the number by 125% to add a buffer for a continuous electrical load. For example, five 100-watt bulbs will actually need a 600-watt dimmer switch when the buffer is added. Round up when the number falls between common models.
Installing the Switches

Now that you’ve found the right dimmer switch for your light fixtures and bulbs, you’re ready for the actual work of installing the switch. Start by cutting off the power to the switch where you’re adding the dimmer control at the circuit breaker. If you’re not sure what breaker controls which room, hire an electrician to properly label your box. Flip the existing switch a few times before removing it to ensure that the power is actually out.
Next, unscrew the cover plate over the existing switch. Unscrew the fasteners holding the electrical box behind the plate as well. Remove the switch by gently pulling it away from the wall until you can reach the wiring to cut it loose or disconnect any existing wire nuts.
Types of Switch Wiring

Three-way switches include a third wire that isn’t the green ground. Mark this third wire, which may already be labeled with a COMMON tag, so you can connect it to the right corresponding wire on a three-way dimmer switch.
Single Pole Switch Wiring
Trim the ends of the wires coming from the house and clear away the last ¾ inch of insulation at each end. Reconnect the ground wire to the screw on the box for this purpose, which may be colored green or marked with a G. Cap it with a wire nut. Twist the ends of the two wires coming out of the new dimmer switch with the two house wires, which may be black, red, or white. Curl or trim the ends until they fit into wire nuts. Then simply re-position and screw the electrical box into place, replace the plate, and flick the breaker to give the new dimmer switch a try.
Three-Way Dimmer Switch Wiring
The process for installation is the same for a three-way switch through the ground wire stage. After this point, start by identifying the black wire coming out of the new switch. Attach it to the house wire you marked as the COMMON wire in the previous stages. The other two wires connect to the remaining two house wires as described previously, along with the reassembly stages.
Now you should feel prepared to handle the dimmer switch process on your own — or feel convinced that you should leave it to a professional. Either way, you’re ready to make some decisions about dimmer switches and your current lighting system.
While do-it-yourself projects can be fun and fulfilling, there is always a potential for personal injury or property damage. We strongly suggest that any project beyond your abilities be left to licensed professionals such as electricians, plumbers, and carpenters. Any action you take upon the information on this website is strictly at your own risk, and we assume no responsibility or liability for the contents of this article.
Related Articles
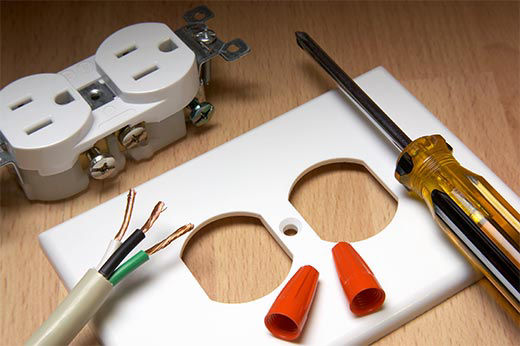
Where to Put Outlets in Garage: Things to Consider
Learn how to safely and properly add electricity to your garage
Learn more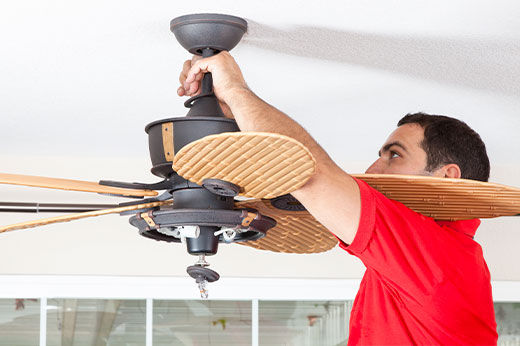
How to Install a Ceiling Fan in 7 Steps
Follow these steps to install the perfect fan for your space!
Learn more
What to Know About Solar Panels for Your Home
Want to learn more about solar panels? Our solar panel buyers guide shares everything homeowners need to know about cost, benefits, tax credits, and more!
Learn more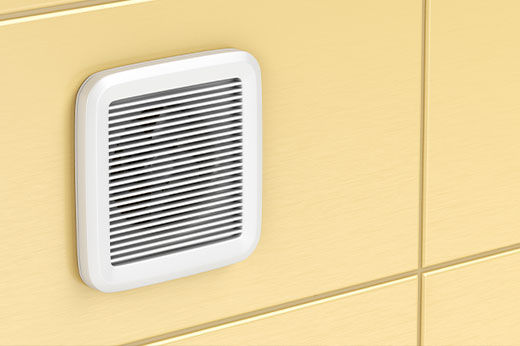
How to Install a Bathroom Fan
A guide for ventilating your bathroom to prevent mold and mildew
Learn more