While do-it-yourself projects can be fun and fulfilling, there is always a potential for personal injury or property damage. We strongly suggest that any project beyond your abilities be left to licensed professionals such as electricians, plumbers, and carpenters. Any action you take upon the information on this website is strictly at your own risk, and we assume no responsibility or liability for the contents of this article.
How to Hang/Install Wall Sconce Lighting

Wall sconce lighting is versatile enough to go almost anywhere in the home without requiring floor or ceiling space. They can also direct light in practically any direction with the use of the right shade. Just like with hanging pendant lights, you can choose between corded and permanently wired installation. Even if you go with corded sconces for faster and easier installation, you can still use raceways to corral and cover the wiring. Learn the tricks for everything from placement and sconce selection to installing each type of wall sconce lighting.
Choosing Sconce Sets

Most wall sconces are installed in sets of at least two matching fixtures. While you can use a single sconce to highlight a small corner or brighten up a sliver of wall between two doors, most sconces are installed in numbers instead. Small numbers of sconces should be installed at the same height, but larger groups can be varied in their placement to create a more artistic design. In general, stick to a single sconce style per room rather than mixing and matching. Downward pointing sconces are good for highlighting certain features like art pieces or for creating more task lighting. Upward pointing fixtures bounce light off the ceiling, creating a more relaxing general ambiance. Finally, sconces that direct light straight ahead is suitable for bathrooms and other areas with mirrors since they are the most flattering.
Finding the Right Placement for Wall Sconces

Wall sconces must be installed next to a stud for proper support. Before picking out the perfect placement on the walls, use a stud finder to get an idea of what spacing is available. Arranging the sconces to match the wall framing will require a minimum distance of 16 inches between lights in most cases. But most installations involve separating the sconces by at least three to four feet instead. When placing multiple lights along one wall like down a hallway, space them further apart than usual to avoid mimicking an airport runway. Aim to install the fixtures just above eye level.
Installing Corded Sconces

Corded sconces are the easiest to install. Just mount the hardware on the wall and run the cord to the nearest outlet to complete the job.
- Start by placing the sconce base on the wall where you want to install it and checking its level and plumb if it’s square.
- After marking the placement for the first sconce with a pencil, use a chalk line and level to mark the point where the second sconce will be placed. This should be continued for any further fixtures that need to line up with them.
- Once the marks are in place, drill into the drywall.
- Then insert the drywall anchors included with the sconce kit. If you have another wall type, purchase matching anchors that fit the plate. If you’re placing the sconce onto a stud rather than next to it, you can use screws and attach the mounting plate directly. This may be necessary for larger and heavier fixtures.
- Make sure the mounting plate is flush with the wall and properly aligned.
- Then, slide the sconce over the mounting plate and align the screw holes.
- Screw-in the fasteners, but don’t tighten them yet.
- Step back and check the look and alignment, then finish tightening the screws and add a light bulb.
- Then plug the fixture in and switch it on to test it.
Using Cable Raceways or Cord Covers

For the ease of corded light installation without the awkwardness of a bare dangling cord, try a cover. A raceway is a simple piece of wood, plastic, or metal that covers the cord and ensures it runs straight to the power outlet. They mimic the neatness of in-wall wiring without the extra cost and work. These covers are paintable, so plan to paint them to match the wall color after installation. Some are simple designs that press into drywall thanks to pointed teeth along the edges, while better covers install with small screws or adhesives to keep them attached to the wall.
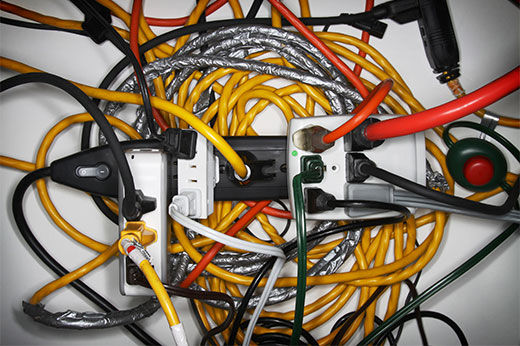
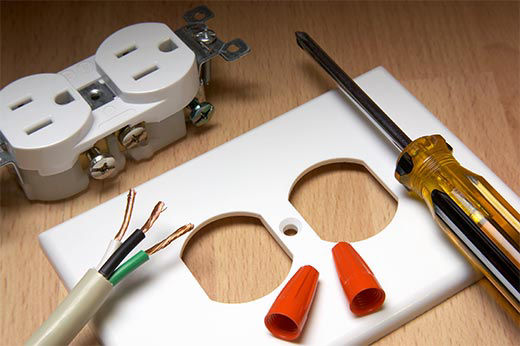
Choosing In-wall Wiring

In-wall wiring is the most complex installation option for wall sconce lighting, but it’s also the most elegant solution. If you are experienced with handling electrical work yourself, you can likely manage this task as well. For the easiest installation, stick to installing sconces on walls that already feature a junction box to join. Adding your own junction box to a wall without outlets is likely a little more than you’ll want to DIY.
- After marking the locations for the sconce plates and attaching them as described above, shut off power to the circuit serving the area.
- Use a drywall saw to cut a hole for the sconce lighting box and the switch box using the templates from the manufacturer.
- Use an electrician’s fish tape to thread the wiring between the switch and lighting box, then run another length of wire from the switch to the junction box in the wall.
- Screw the electrical boxes into the studs supporting them.
- Connect all of these wires with the proper splicing technique, joining the wires that match in color.
- Attach the wall sconce itself to the base and add a bulb.
- Screw the switch in place, then temporarily turn the power on to the circuit. Test the light and switch before moving on.
- Once you’re sure it’s working properly, then finish the attachment of the sconce and switch covers.
If there’s no junction box already installed on the wall, have the electrician go ahead and run the wiring and install the switch at the same time. Then installing the sconces is as simple as threading a few runs of wire to the switch and nothing more. But, of course, many homeowners find the easiest choice is to stick with corded sconces and use raceways to disguise them.
Related Articles
Where to Put Outlets in Garage: Things to Consider
Learn how to safely and properly add electricity to your garage
Learn more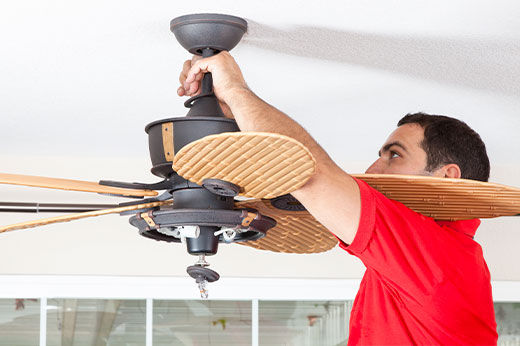
How to Install a Ceiling Fan in 7 Steps
Follow these steps to install the perfect fan for your space!
Learn more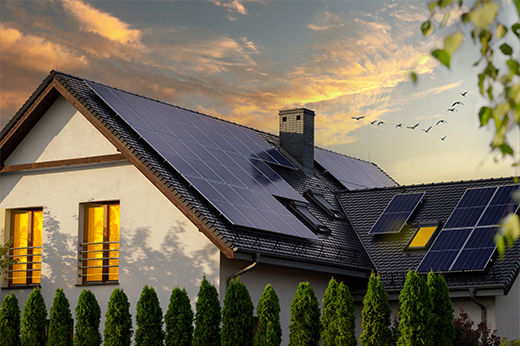
What to Know About Solar Panels for Your Home
Want to learn more about solar panels? Our solar panel buyers guide shares everything homeowners need to know about cost, benefits, tax credits, and more!
Learn more
How to Install a Bathroom Fan
A guide for ventilating your bathroom to prevent mold and mildew
Learn more